Fixing My Ethernet Cable Issue
2025-02-26
Table of Contents
- The Setup
- Understanding the Ethernet Cable Tester
- Diagnosing the Issue
- Fixing the Ethernet Cable
- Replacing the RJ-45 Plug
- Step 1: Cutting the Old RJ-45 Plug
- Step 2: Removing the Outer Plastic Sheath
- Step 3: Untwisting the Wires and Cutting Excess Plastic
- Step 4: Arranging the Wires in the Correct Order
- Step 5: Cutting and Crimping the Wires
- Testing the Fixed Cable
- Conclusion
The Setup
My father brought an electrician home to wire an Ethernet cable from the router to my room. He ran the cable inside the wall, and everything seemed fine at first. However, when he crimped the RJ-45 connectors, he messed up, and the cable wasn’t working on my laptop. That meant I had to fix it myself.
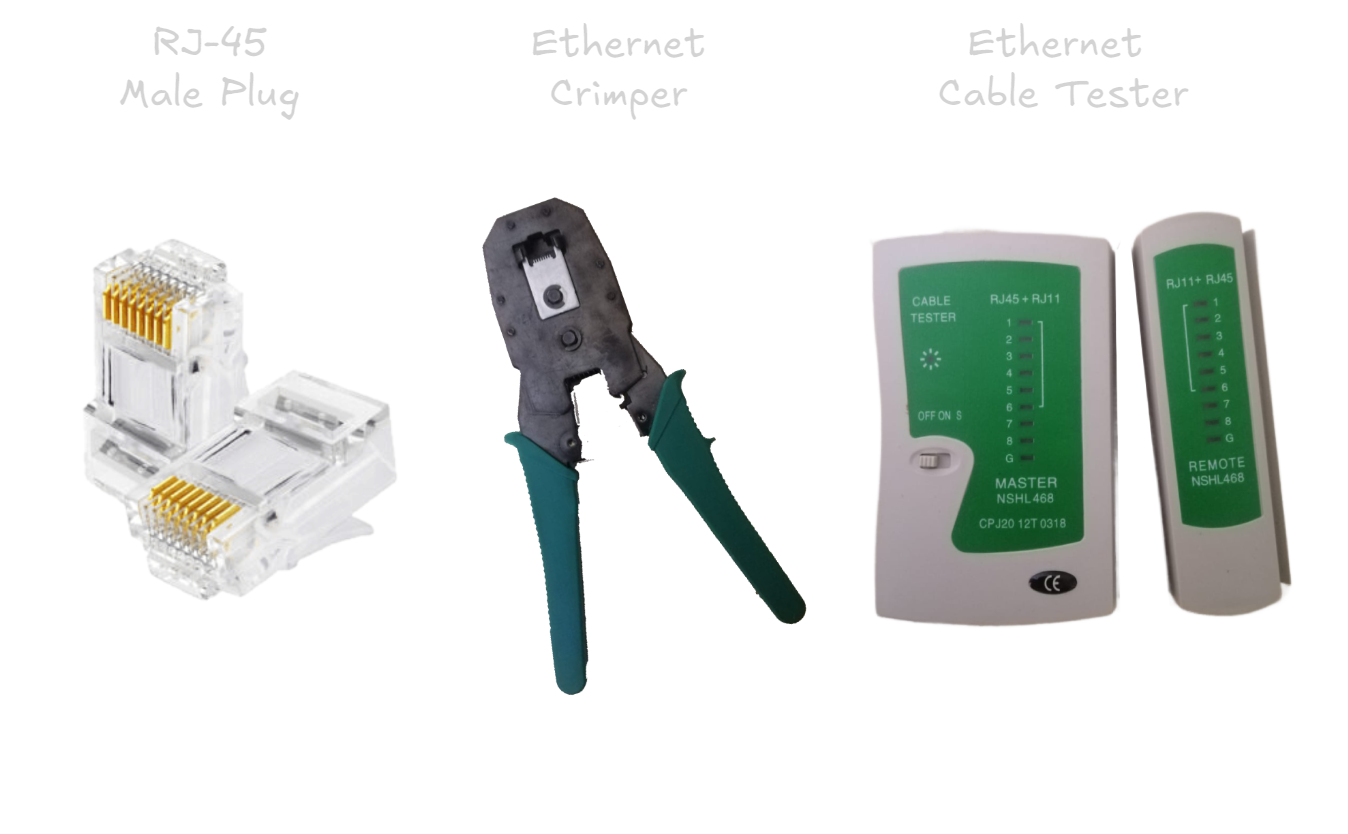
To do this, I needed:
- An Ethernet cable tester
- An Ethernet crimper
- RJ-45 plugs
Here’s a photo of each item:
Understanding the Ethernet Cable Tester
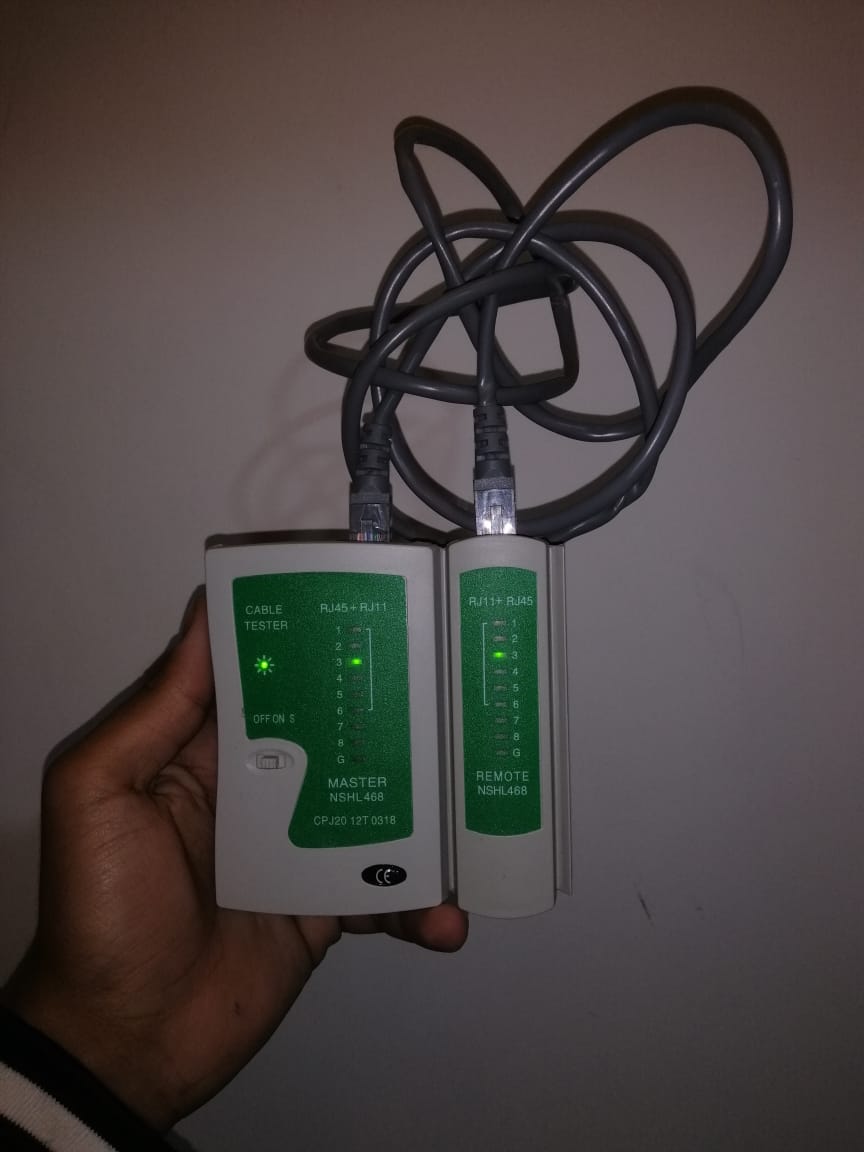
Before jumping in, I had to figure out how the Ethernet cable tester actually works. I watched a few YouTube videos and learned that it’s just a connectivity tester. An Ethernet cable has eight wires, and the tester checks each one sequentially. If the wire is properly connected, its corresponding LED blinks. If an LED doesn’t blink, that wire isn’t connected properly, meaning the cable is faulty.
To get comfortable with the tester, I tried it on an already working cable.
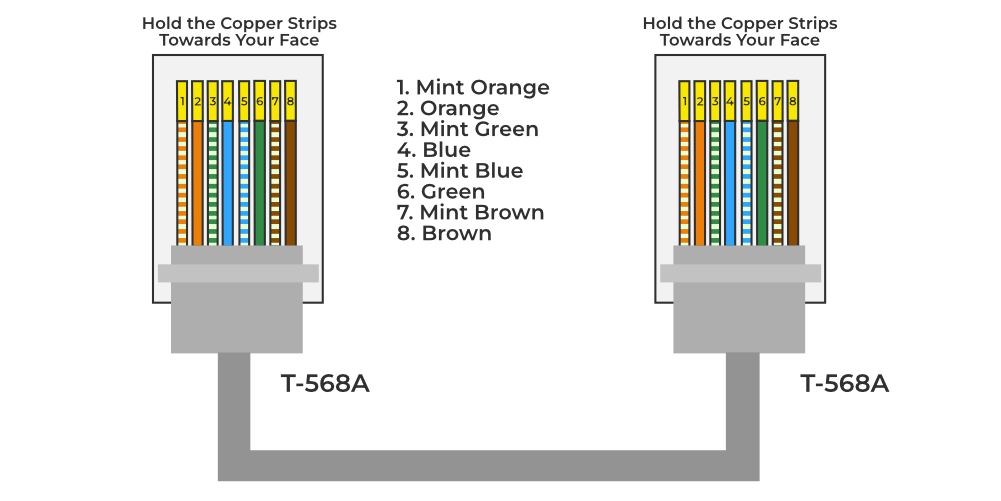
The LED numbers correspond to the pin numbers in the RJ-45 plug. Here’s an image showing the correct pin numbering:
![]()
Diagnosing the Issue
Now that I understood how the tester works, I tested the cable the electrician installed. I connected the first part of the tester in the living room and the second part in my bedroom.
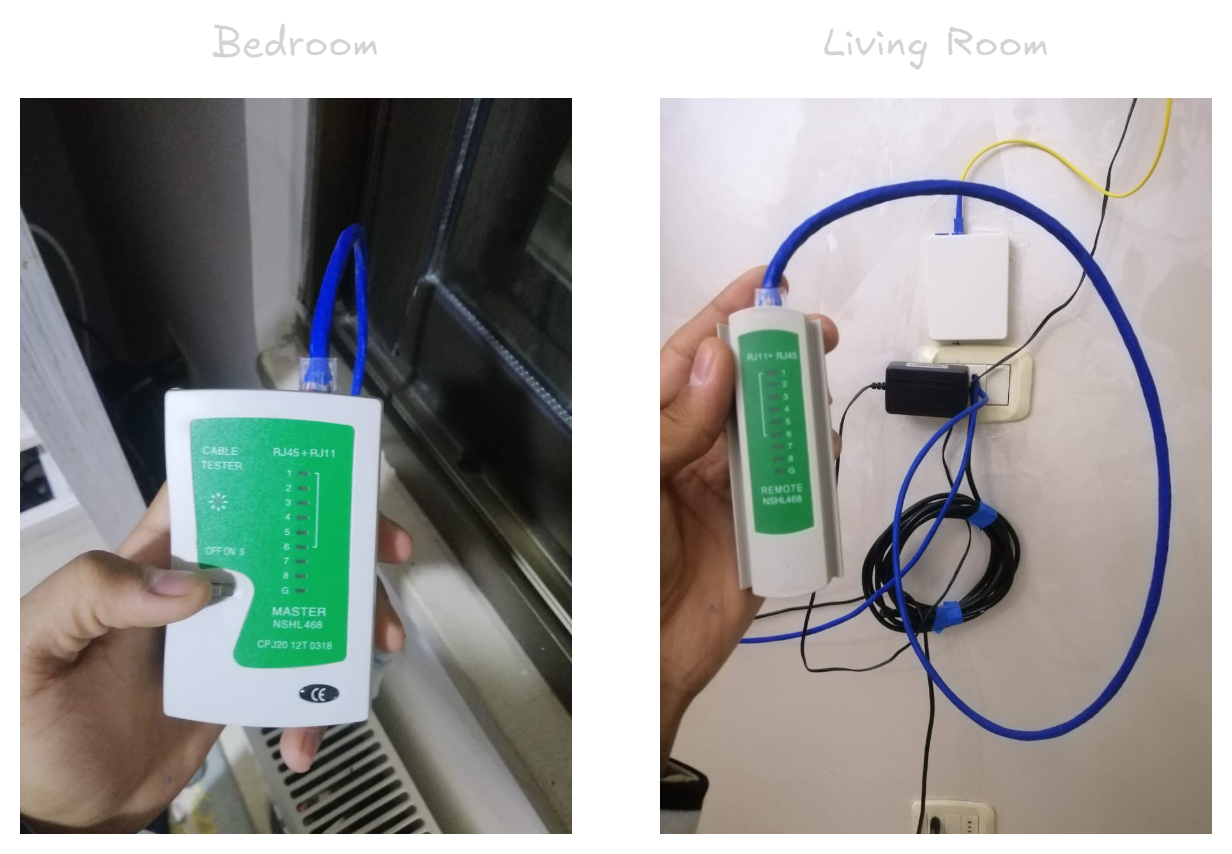
Here’s a video showing that all LEDs turned on except for number 7. That’s why the cable wasn’t working.
Fixing the Ethernet Cable
To fix the issue, I had to replace the RJ-45 connectors on both ends of the cable. Initially, I only replaced the end in the living room and tested it again. If that fixed the issue, I wouldn’t need to replace the bedroom end. But in the end, I had to change both.
Here’s the YouTube video that helped me with the process: Watch it here.
Replacing the RJ-45 Plug
Step 1: Cutting the Old RJ-45 Plug

Step 2: Removing the Outer Plastic Sheath
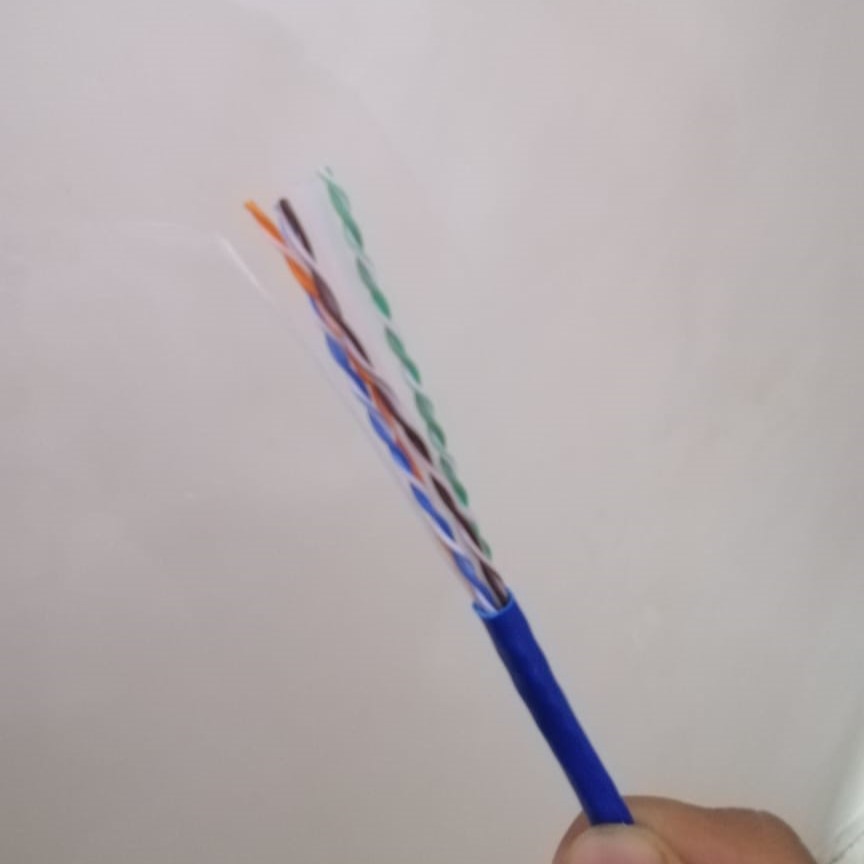
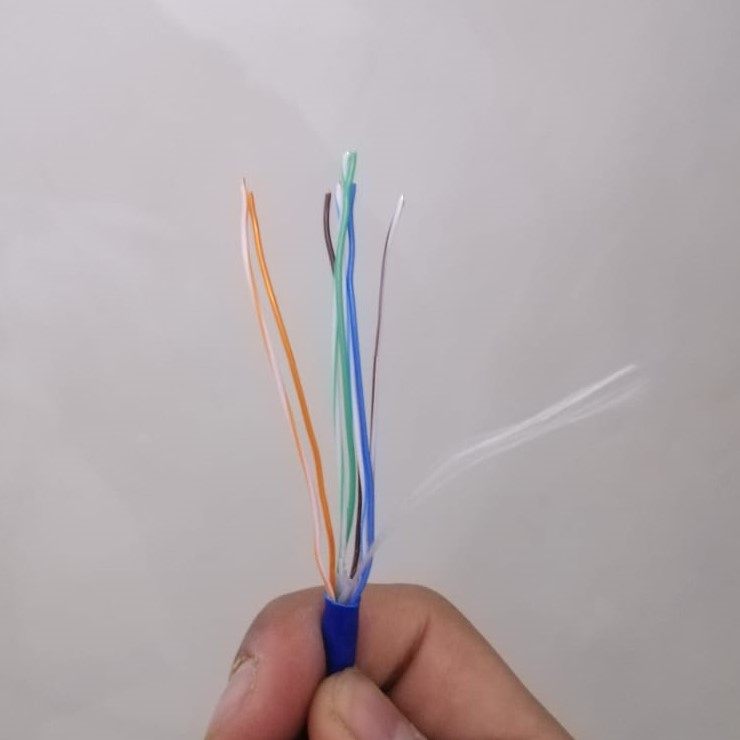
Step 3: Untwisting the Wires and Cutting Excess Plastic
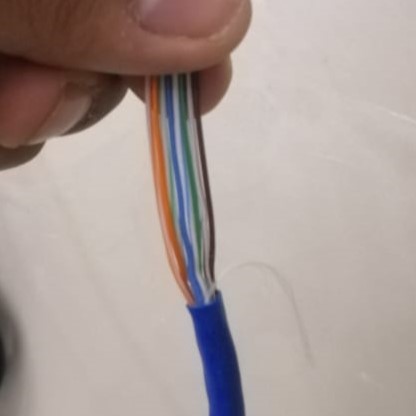
Step 4: Arranging the Wires in the Correct Order
The correct color order follows the T568A standard:
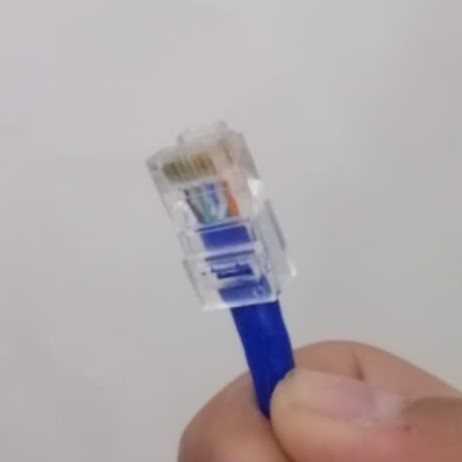
Here’s how it looked after arranging them:
Step 5: Cutting and Crimping the Wires
After cutting the wires to the correct length, I used the crimper to attach the new RJ-45 plug.
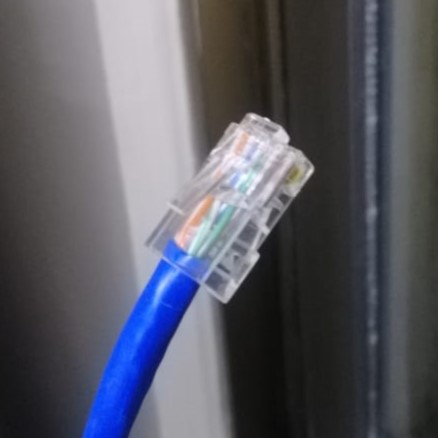
Here’s the final result:
I repeated the same process in my bedroom:
Testing the Fixed Cable
I tested the cable again using the tester.
Now, it was time for the moment of truth. I tested the cable one more time using the Ethernet tester, and…

Success! The tester confirmed that all the LEDs were lighting up correctly.
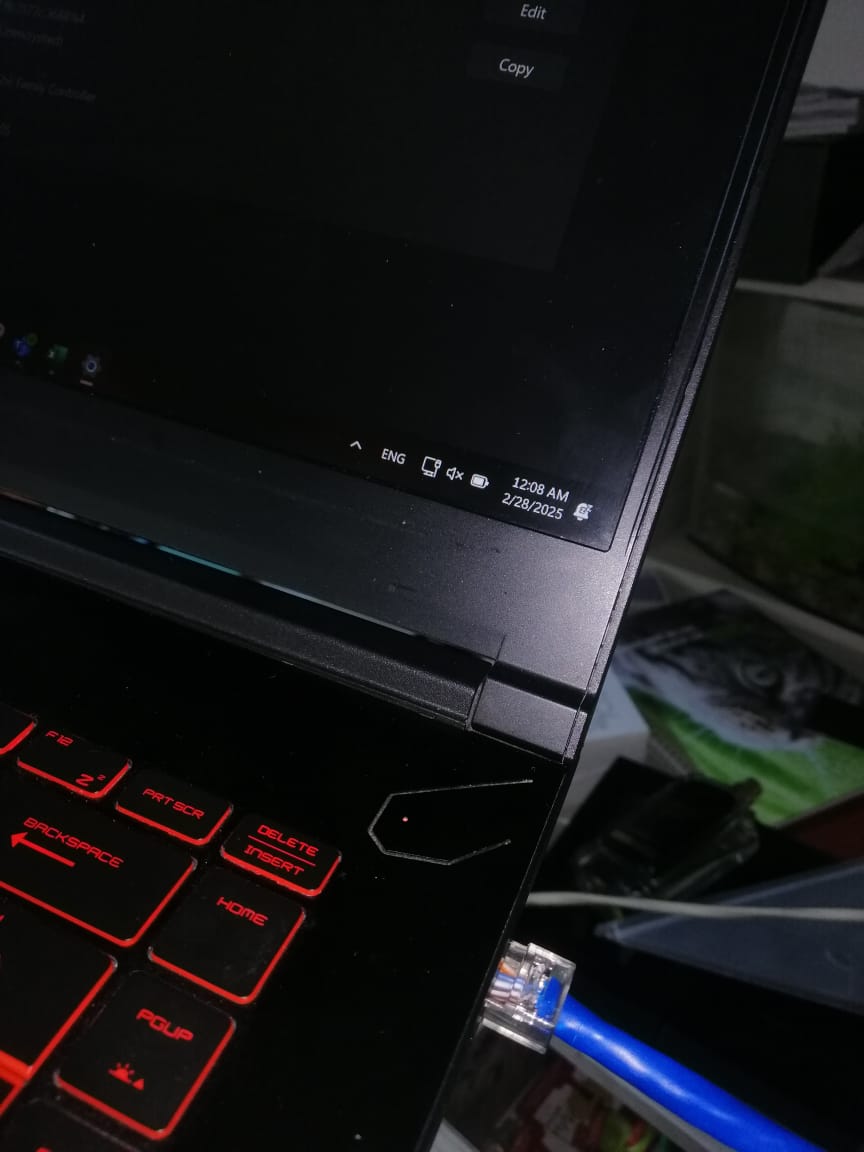
To be completely sure, I connected one end to the router and the other to my laptop. It worked!
Conclusion
This was a fun hands-on experience, and I learned a lot about networking cables, testers, and crimping RJ-45 connectors. Hopefully, this helps anyone dealing with similar issues!