Learning Tmux
2025-12-27
Table of Contents
You’re running a long update on a remote server, your internet blips, and the connection drops. The process is dead, and you have no idea if it finished. Or maybe you have five different terminal windows open, trying to juggle monitoring logs, editing files, and running commands.
Enter tmux.
Tmux (Terminal Multiplexer) allows you to have terminals inside of terminals. It keeps your sessions persistent (so they survive connection drops) and lets you split your screen into multiple panes and windows.
In this guide, I’m going to walk you through the basics, and then I’m going to share a custom configuration that makes tmux 10x easier to use.
Part 1: Getting Started & The Defaults
First, let's make sure it's installed. On Debian/Ubuntu, it’s as simple as:
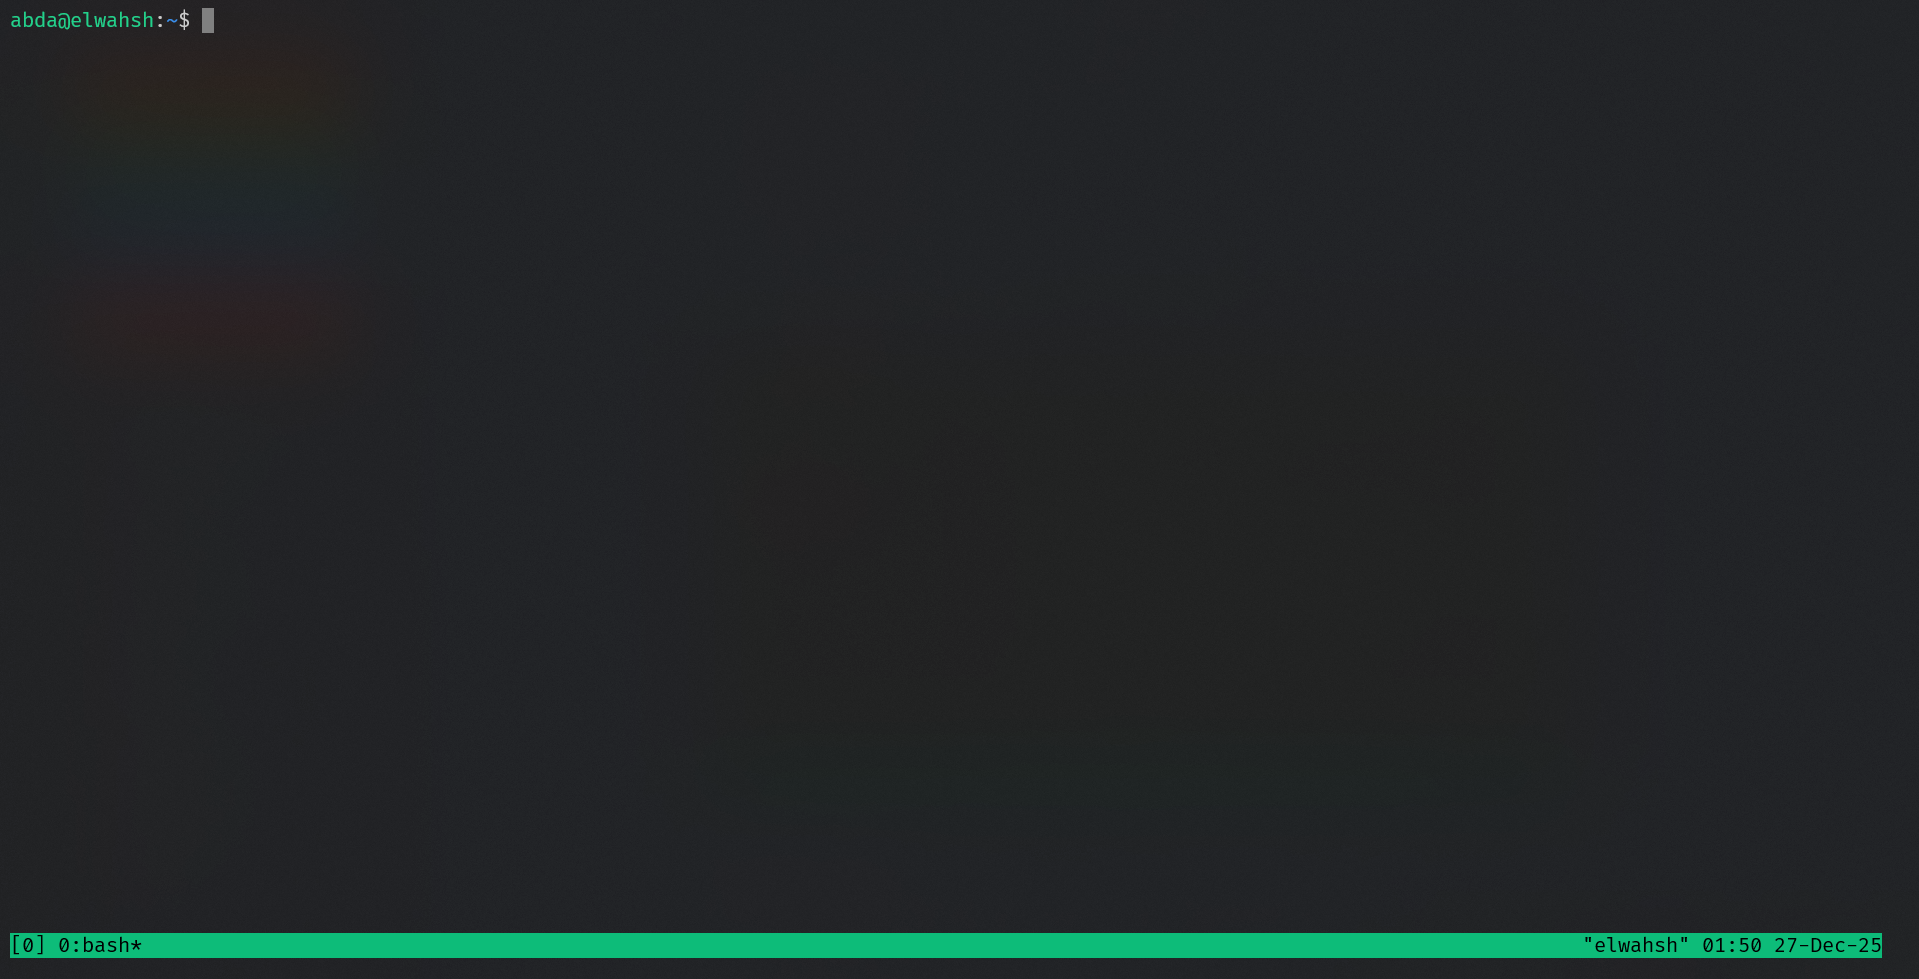
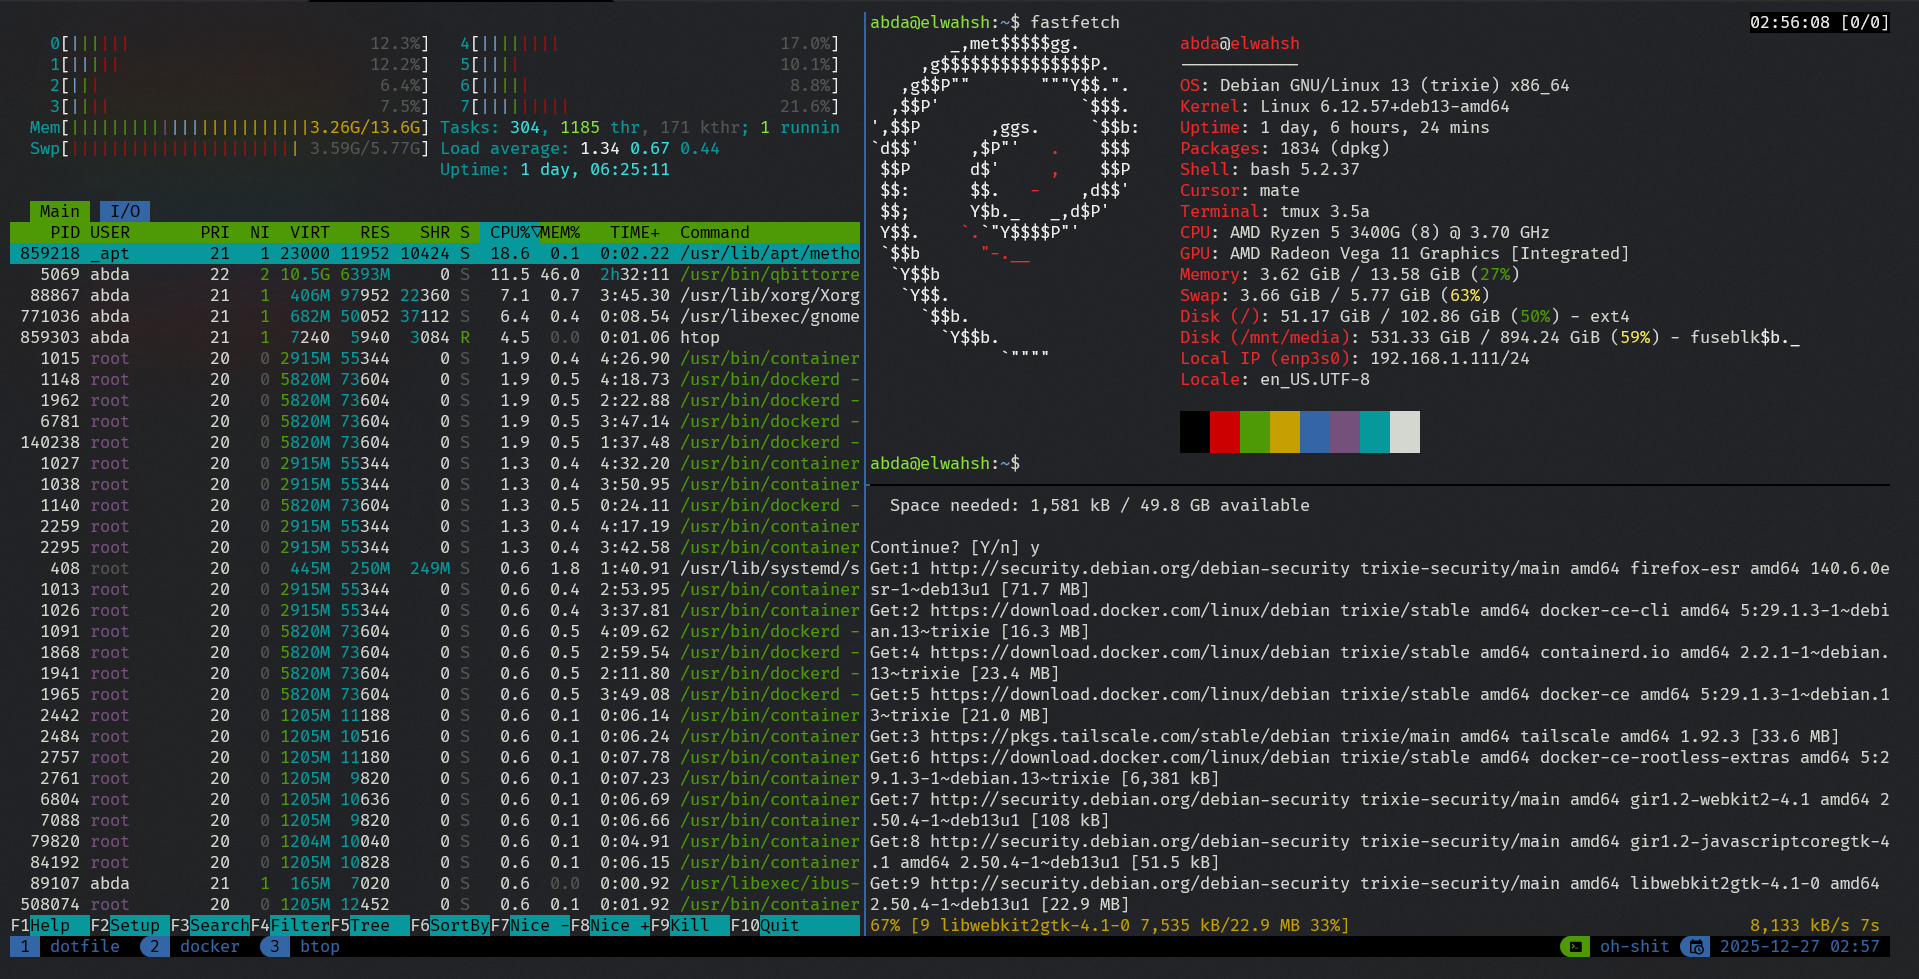
sudo apt install tmuxTo start tmux, just type tmux in your terminal. You’ll know you’re in tmux because of the distinct green status bar at the bottom.
The "Prefix" Key
To talk to tmux (instead of the shell), you have to send a Prefix Key. By default, this is Ctrl + b. You hold Control, press b, release both, and then press your command key.
Panes (Splitting the Screen)
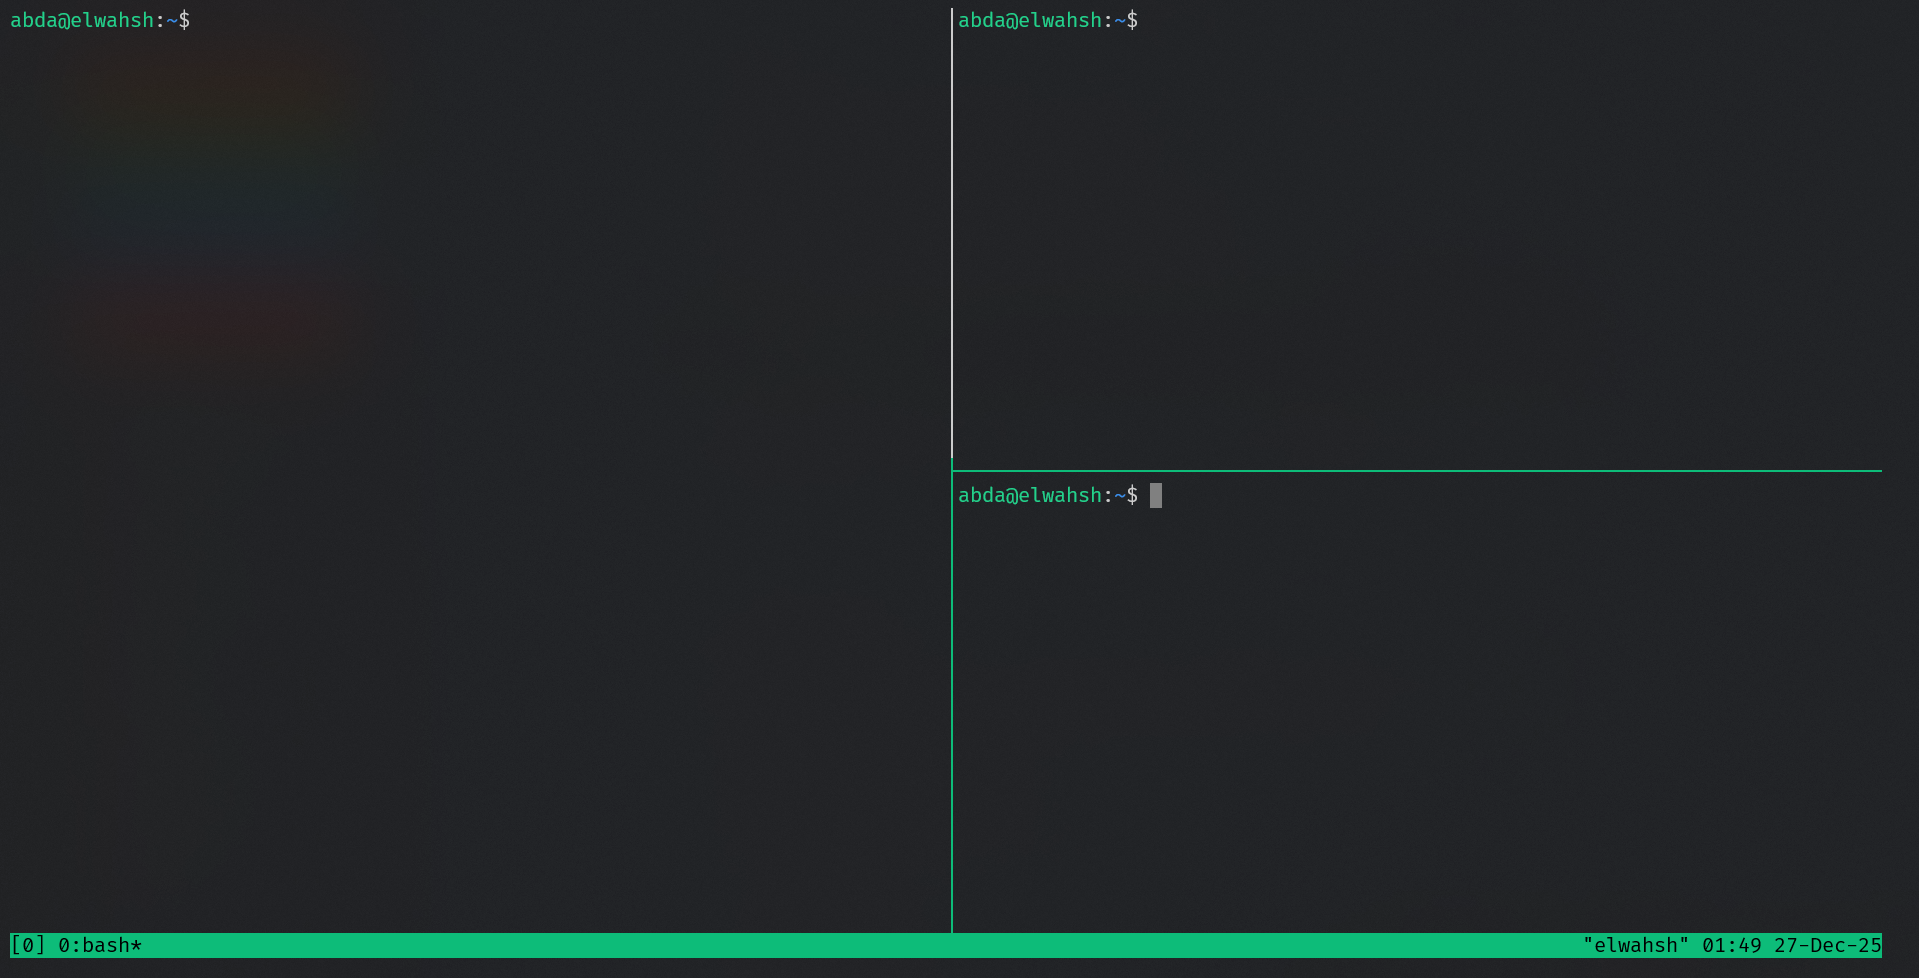
The real magic happens when you split your window.
- Vertical Split: Prefix +
% - Horizontal Split: Prefix +
"
You can navigate between them using Prefix + Arrow Keys.
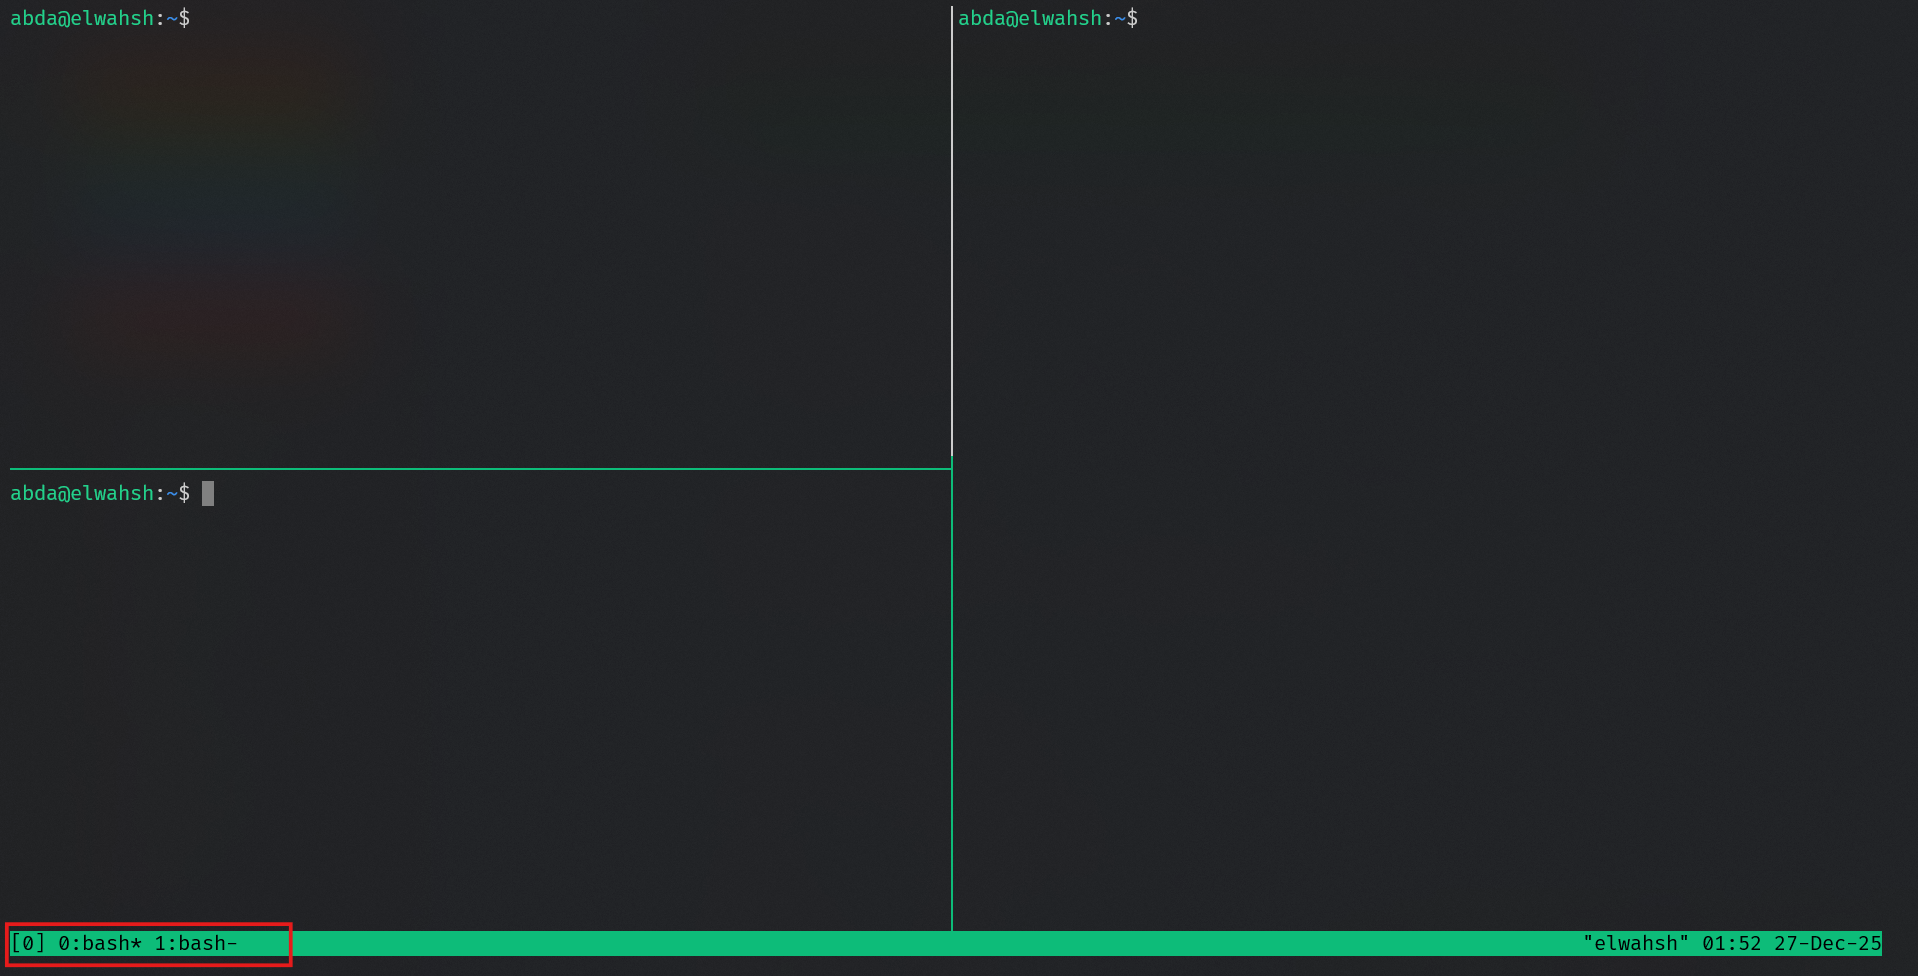
Windows (Tabs)
If your screen gets too cluttered, you can create new Windows (like tabs).
- Create Window: Prefix +
c - Next/Prev Window: Prefix +
norp - Rename Window: Prefix +
,
Sessions (The Lifesaver)
The most powerful feature of tmux is session management. If you detach from tmux (Prefix + d), your processes keep running in the background. You can log out, go to lunch, come back, and pick up exactly where you left off.
Here are the essential commands to manage your terminal life:
- Creating a Named Session
While typing tmux works, it gives the session a boring number (0, 1, 2...). It is much better to give it a name so you remember what project is running inside:
tmux new -s my-new-session- Note: or you can just use
tmuxalone and it will create an unnamed seesion
- Listing Sessions
To see what sessions are currently running in the background, use:
tmux ls
# OR the long version
tmux list-sessions- Tip: If you run
tmux lswhile you are already inside a session, it will list all sessions and explicitly mark the one you are currently attached to.
- Attaching to Sessions
To get back into a session, you have a few options:
# Attaches to the most recently used session
tmux a
# OR
tmux attach

# Attaches to a SPECIFIC named session (e.g., "my-session")
tmux a -t my-session- Killing the Server
If you want to close all active sessions and stop tmux entirely, run:
tmux kill-serverCheat Sheet 1: The Defaults
Use these if you haven't applied a config file yet.
Part 2: Supercharging Tmux (The Configuration)
The defaults are functional, but they require some "finger gymnastics." Reaching for % or " to split screens isn't intuitive, and Ctrl + b is a bit of a stretch.
We are going to create a configuration file to remap our keys, add mouse support, and make the interface look much better.
Create a file in your home directory called .tmux.conf:
nano ~/.tmux.confPaste the following configuration into that file. This setup changes the prefix to Ctrl + j, enables mouse mode, and adds standard Alt key navigation.
My .tmux.conf
set -sg escape-time 50

# Initial setup
set -g default-terminal xterm-256color
set -g status-keys vi

# --- KEY REMAPPING ---
# Change Prefix to C-j and C-f (Easier to reach)
set-option -g prefix C-j
unbind-key C-j
bind-key C-j send-prefix
set -g base-index 1

# Use Alt-arrow keys WITHOUT PREFIX to switch panes
bind -n M-Left select-pane -L
bind -n M-Right select-pane -R
bind -n M-Up select-pane -U
bind -n M-Down select-pane -D

# Set easier window split keys (v for vertical, h for horizontal)
bind-key v split-window -h
bind-key h split-window -v

# Shift arrow to switch windows
bind -n S-Left  previous-window
bind -n S-Right next-window

# Easily reorder windows with CTRL+SHIFT+Arrow
bind-key -n C-S-Left swap-window -t -1
bind-key -n C-S-Right swap-window -t +1

# Synchronize panes (Type in all panes at once)
bind-key y set-window-option synchronize-panes\; display-message "synchronize mode toggled."

# Easy config reload
bind-key r source-file ~/.tmux.conf \; display-message "tmux.conf reloaded."

# Easy clear history
bind-key L clear-history

# --- COPY MODE & MOUSE ---
setw -g mode-keys vi
unbind p
bind p paste-buffer
bind-key -T copy-mode-vi 'v' send -X begin-selection
bind-key -T copy-mode-vi 'y' send -X copy-selection-and-cancel

# Enable Mouse Mode (Click to select panes, resize, scroll)
set -g mouse on


# -- The Theme --

set -g default-terminal "tmux-256color"

# 1. Configure the theme (MUST BE BEFORE LOADING THE PLUGIN)
set -g @catppuccin_flavor "mocha"
set -g @catppuccin_window_status_style "rounded"

# --- Fix for Window Names ---
set -g @catppuccin_window_text " #W"
set -g @catppuccin_window_default_text " #W"
set -g @catppuccin_window_current_text " #W"

# Change the background of the text part to Mauve
set -g @catppuccin_window_current_background "#{@thm_mauve}"

# Change the background of the number part to Mauve (matches the text part)
set -g @catppuccin_window_current_number_color "#{@thm_mauve}"

# Ensure the text on the Mauve background is dark (readable)
set -g @catppuccin_window_current_text_color "#{@thm_bg}"


# 2. Load the plugin
run ~/.config/tmux/plugins/catppuccin/tmux/catppuccin.tmux

# 3. Configure the Status Bar (Right Side)
set -g status-right-length 100
set -g status-left-length 100
set -g status-left ""
set -g status-right ""
set -ag status-right "#{E:@catppuccin_status_session}"
set -ag status-right "#{E:@catppuccin_status_date_time}"
Applying the Changes
Once you save the file, you need to tell tmux to look at it. If you are already in tmux, you can't use the new reload key yet because the config isn't loaded!
The easiest way is to kill your current tmux server: tmux kill-server and start fresh. Or, from inside tmux, run:
tmux source-file ~/.tmux.conf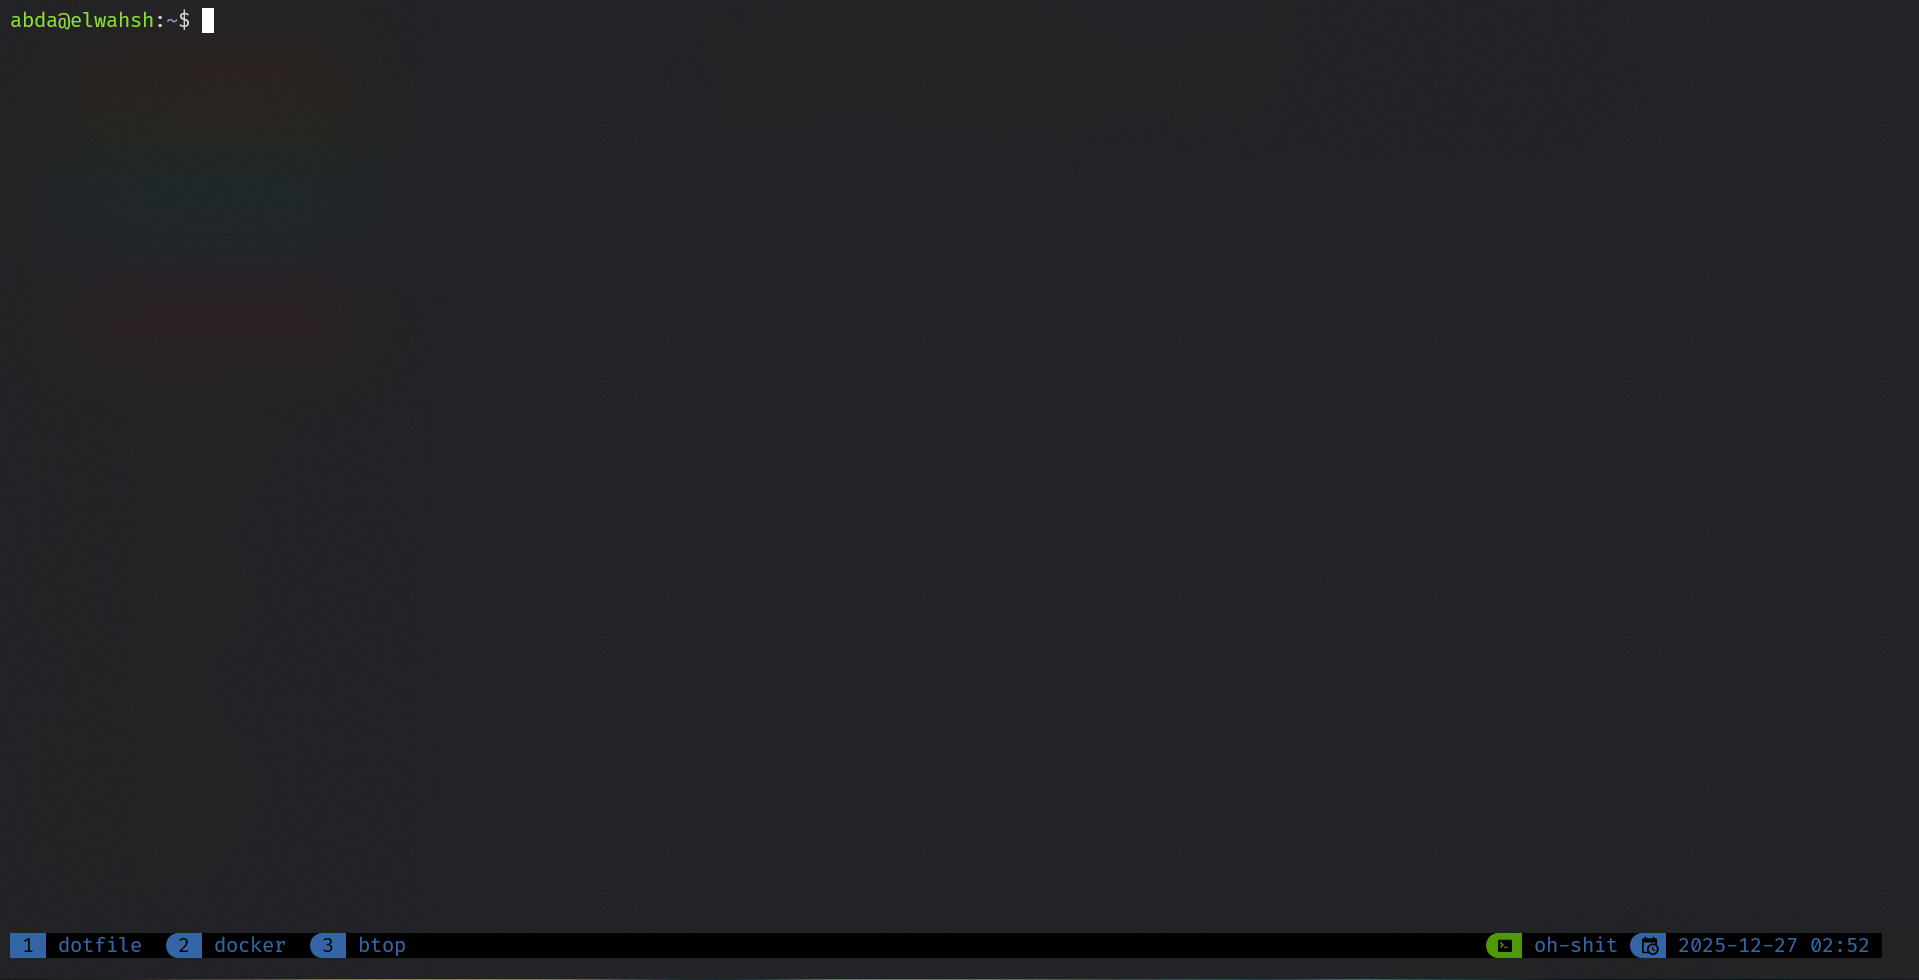
- Note: these are not the colors specified in the conf file, this is because my Windows terminal applies it's own colors
Part 3: The New Workflow
With this configuration file, your life just got a lot easier. Here is how your workflow changes:
- Prefix: You can now use
Ctrl + j. - Splitting: Use Prefix +
vfor Vertical and Prefix +hfor Horizontal. Logical! - Navigation: No prefix needed! Just hold
Alt+ Arrow Keys to jump between panes. - Mouse Mode: You can now click on panes to select them and drag borders to resize them.
Cheat Sheet 2: The "Pro" Config
Use this after applying the .tmux.conf file above.
Conclusion
Tmux is one of those tools that feels "extra" until you use it for a week, and then you can't live without it. By applying this configuration file, you remove the friction of the default keybindings and get a terminal environment that looks great and functions perfectly.
Happy multiplexing!